


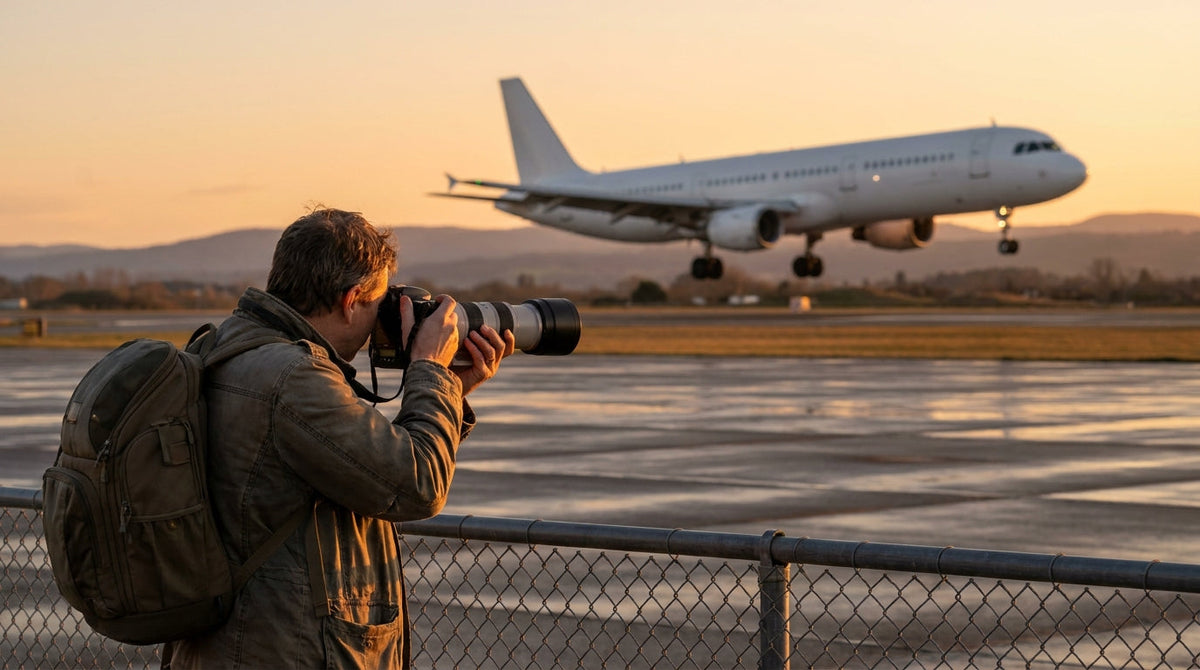
Almost every pilot ends up with a camera roll that looks like a portfolio. Sunrise over a cloud deck at FL370, a wingtip cutting through the top of a cumulus, the ramp at 4 a.m. under sodium lights — the office view is simply better than most. But there is a wide gap between snapping a phone picture out of the flight deck window and producing aviation photography that people actually stop scrolling for. This guide covers both halves of that gap: the rules that govern what a working crewmember may legally do with a camera, and the craft that separates a snapshot from a frame worth printing.
First, the part nobody can skip: the rules
If you fly for a living, camera use on the flight deck is not a matter of taste. It is regulated, and getting it wrong is a career problem rather than an artistic one.
The sterile flight deck rule
Under the sterile flight deck rule, during critical phases of flight — taxi, takeoff, landing, and all other operations conducted below 10,000 feet except cruise — flight crew may perform only duties required for the safe operation of the aircraft. Non-essential activity is prohibited outright. Photography of any kind falls squarely into "non-essential." That beautiful shot of the approach lights coming up through a ragged base is exactly the shot you are not permitted to take.
The personal electronic device prohibition
The FAA's rule on personal use of electronic devices on the flight deck, published in February 2014, goes further. It bars flightcrew members in Part 121 operations from personal use of any wireless-capable personal electronic device while at their duty station during flight. In practice that means a phone or a tablet is off the table as a camera, at any altitude, for personal purposes. Coverage of the rule at the time noted the distinction that follows from its wording: a non-wireless camera used outside sterile phases is treated differently from a phone, because the rule targets wireless-capable devices used personally at the duty station.
Two cautions before anyone treats that as a green light. First, your airline's own operations manual may be stricter than the regulation, and the company policy is what your check airman will hold you to. Second, "outside sterile phases with a dedicated camera" still means the aircraft must be being flown by someone who is not currently holding a lens. If you have to ask whether the moment is appropriate, it isn't.
The safest professional posture is simple: shoot from the ground, shoot as a passenger, shoot on your days off — and treat the flight deck as a place where you happen to have seen something, not a place where you work a camera.
Gear: what actually matters
Aviation is a long-lens discipline. Aircraft are large but almost always far away, and the two situations you shoot most — airport spotting and airshows — both reward reach.
- Body. Any modern interchangeable-lens camera with reliable continuous autofocus and a decent burst rate will do. Fast, sticky subject tracking matters far more than headline megapixels.
- Lens. A 100–400mm or 150–600mm zoom is the workhorse focal range. Wide-angle has its place for ramp and cockpit-detail work, but the long end is where most keepers live.
- Circular polariser. The single most useful filter in aviation photography. It cuts glare off canopies and painted fuselages and deepens blue sky, and it works best when the camera is pointed roughly ninety degrees from the sun. It costs you roughly one to two stops of light, so plan your shutter speed accordingly.
- Support. A monopod takes the weight of a long lens off your arms during a four-hour airshow without locking you into a fixed position the way a tripod does.
Everything else — bags, straps, spare batteries, a rocket blower for ramp dust — is comfort and reliability rather than image quality. Buy the lens first.
Settings: the prop blur problem
Here is the technical detail that trips up every newcomer, and the one that instantly marks an aviation photographer as knowing what they are doing.
Freeze a propeller aircraft at 1/2000s and the propeller looks stopped. A stopped propeller on an aircraft in flight reads, to anyone who knows aircraft, as either a photographic mistake or an engine failure. Neither is the look you want. The fix is a deliberately slower shutter speed so the blades render as an arc — or, ideally, a full disc.
- Partial prop blur: roughly 1/160s to 1/320s gives a visible arc while keeping the airframe manageable.
- Full disc: most piston aircraft need around 1/60s, and some need slower still. This is genuinely hard handheld with a long lens and produces a low keeper rate — expect to shoot a lot of frames for a few good ones.
- Panning: to keep the aircraft sharp while the background streaks, work in the 1/60s to 1/250s range, adjusting for aircraft speed and how steady your pan is. Lock onto the subject, move the lens at the aircraft's speed, and keep swinging through the shutter release rather than stopping at it.
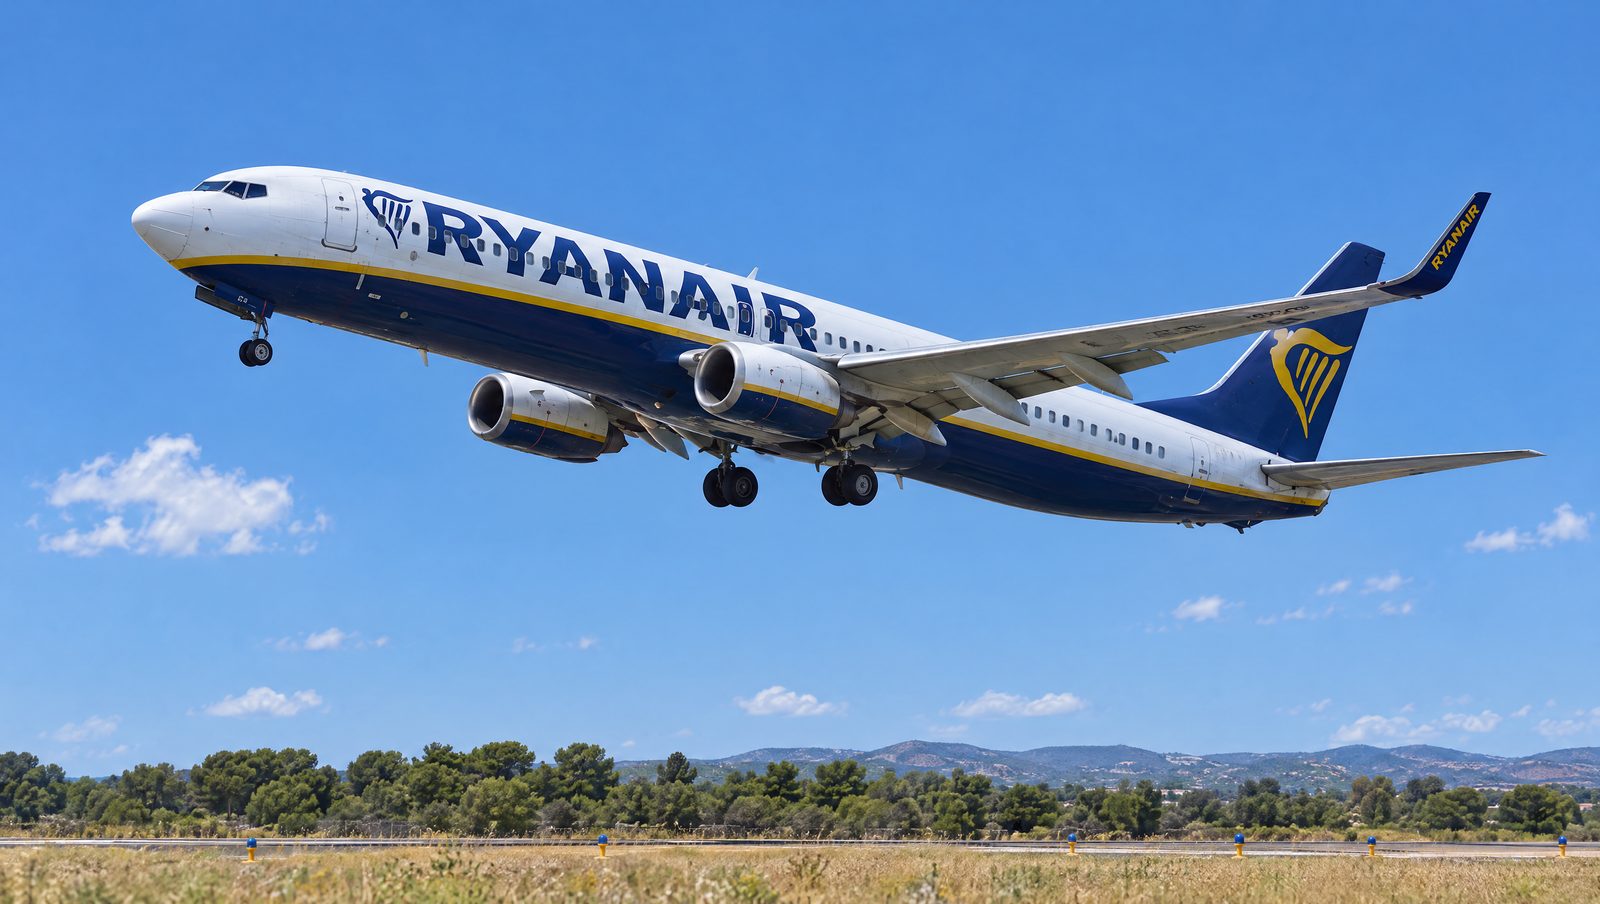
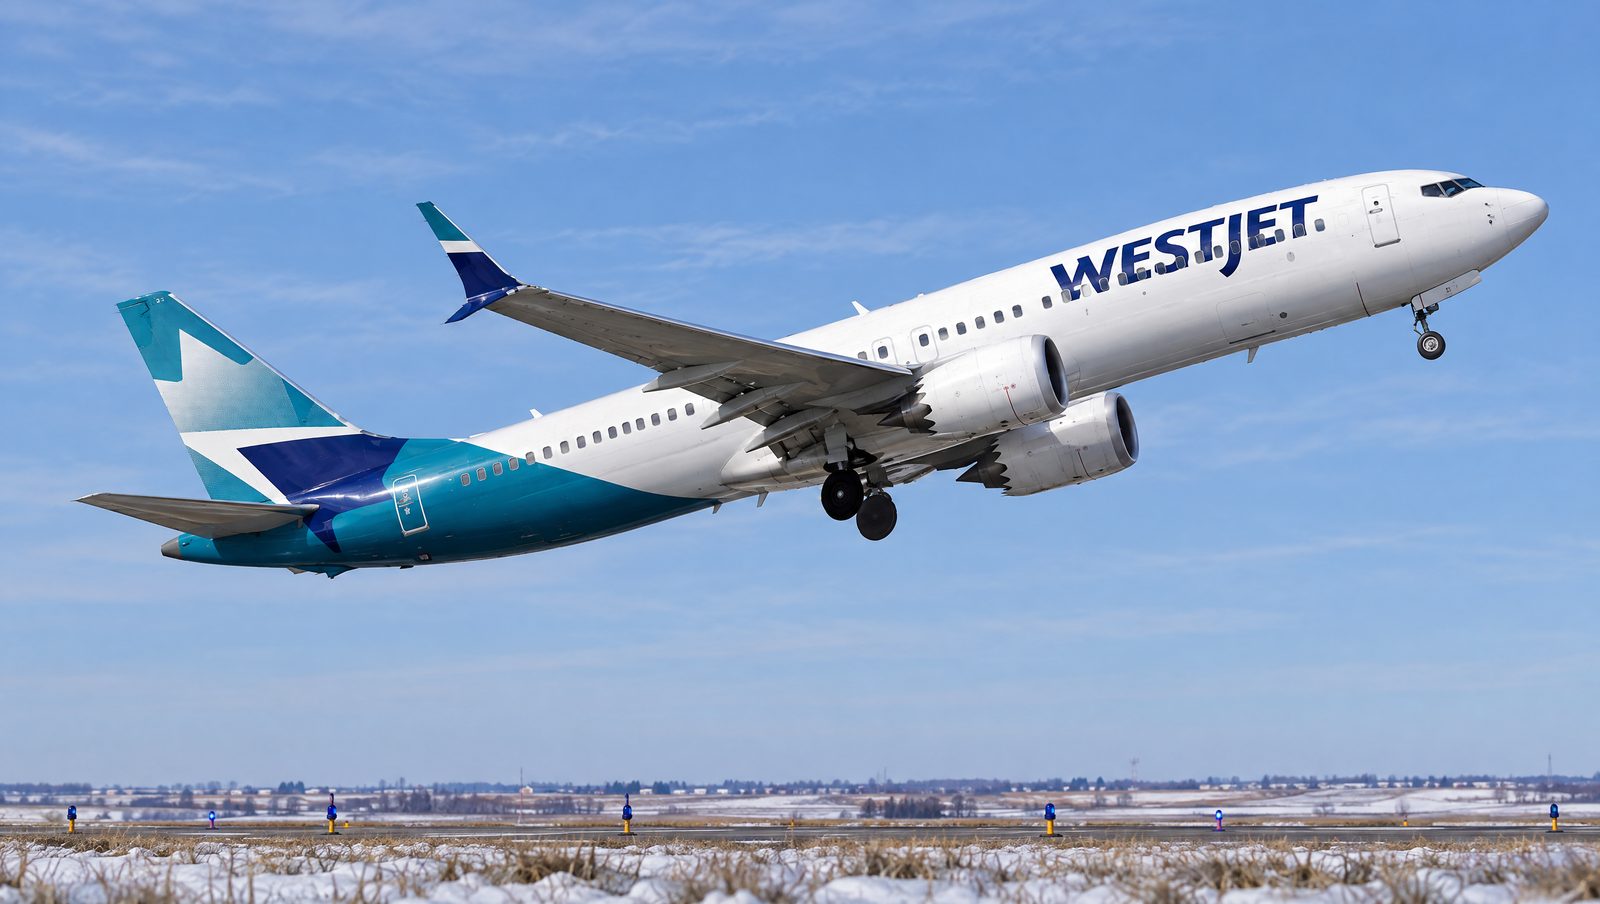
Jets are more forgiving — there is no propeller to give you away — so faster shutter speeds are fine. But the panning technique still pays off, because a streaked background is what communicates speed in a still image. A jet frozen against a featureless blue sky could be a model on a shelf.
Speaking of which: shooting scale model airplanes at home is genuinely good off-season practice. Controlled light, a subject that never taxis away, and all the time in the world to learn how your polariser behaves on glossy paint.
Light, weather, and position
Aircraft are large, shiny, and usually photographed from below against a bright sky — a combination that punishes lazy exposure. Three habits fix most of it.
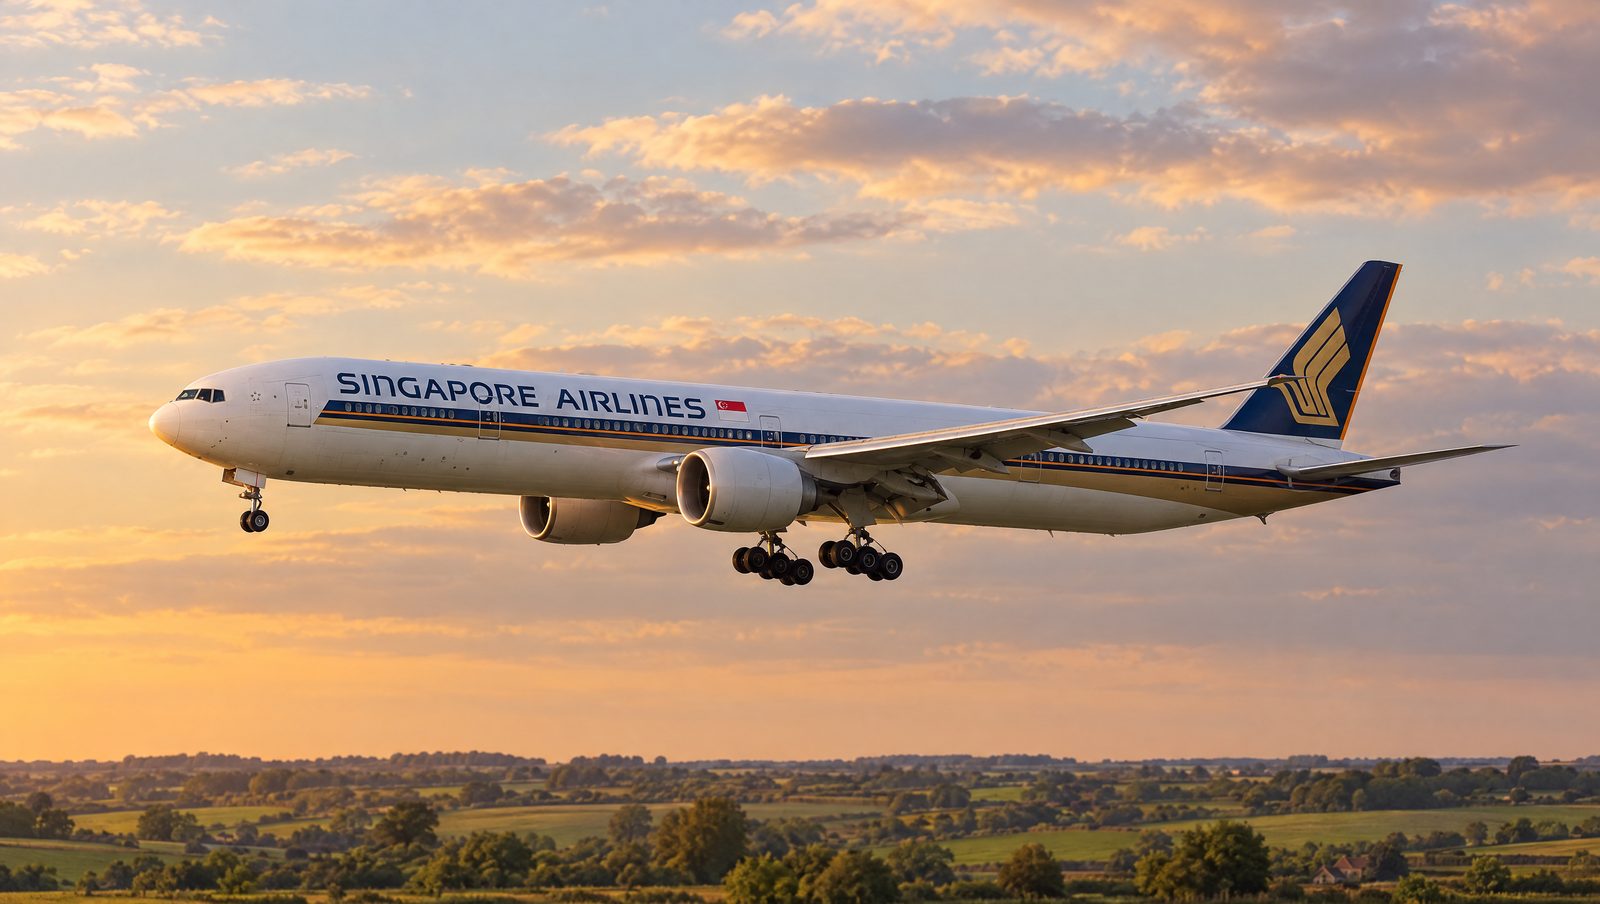
Shoot the edges of the day. Low-angle light rakes across a fuselage and reveals its shape. Midday sun flattens everything and blows out white liveries. Golden hour at an airport perimeter is worth more than any lens upgrade.
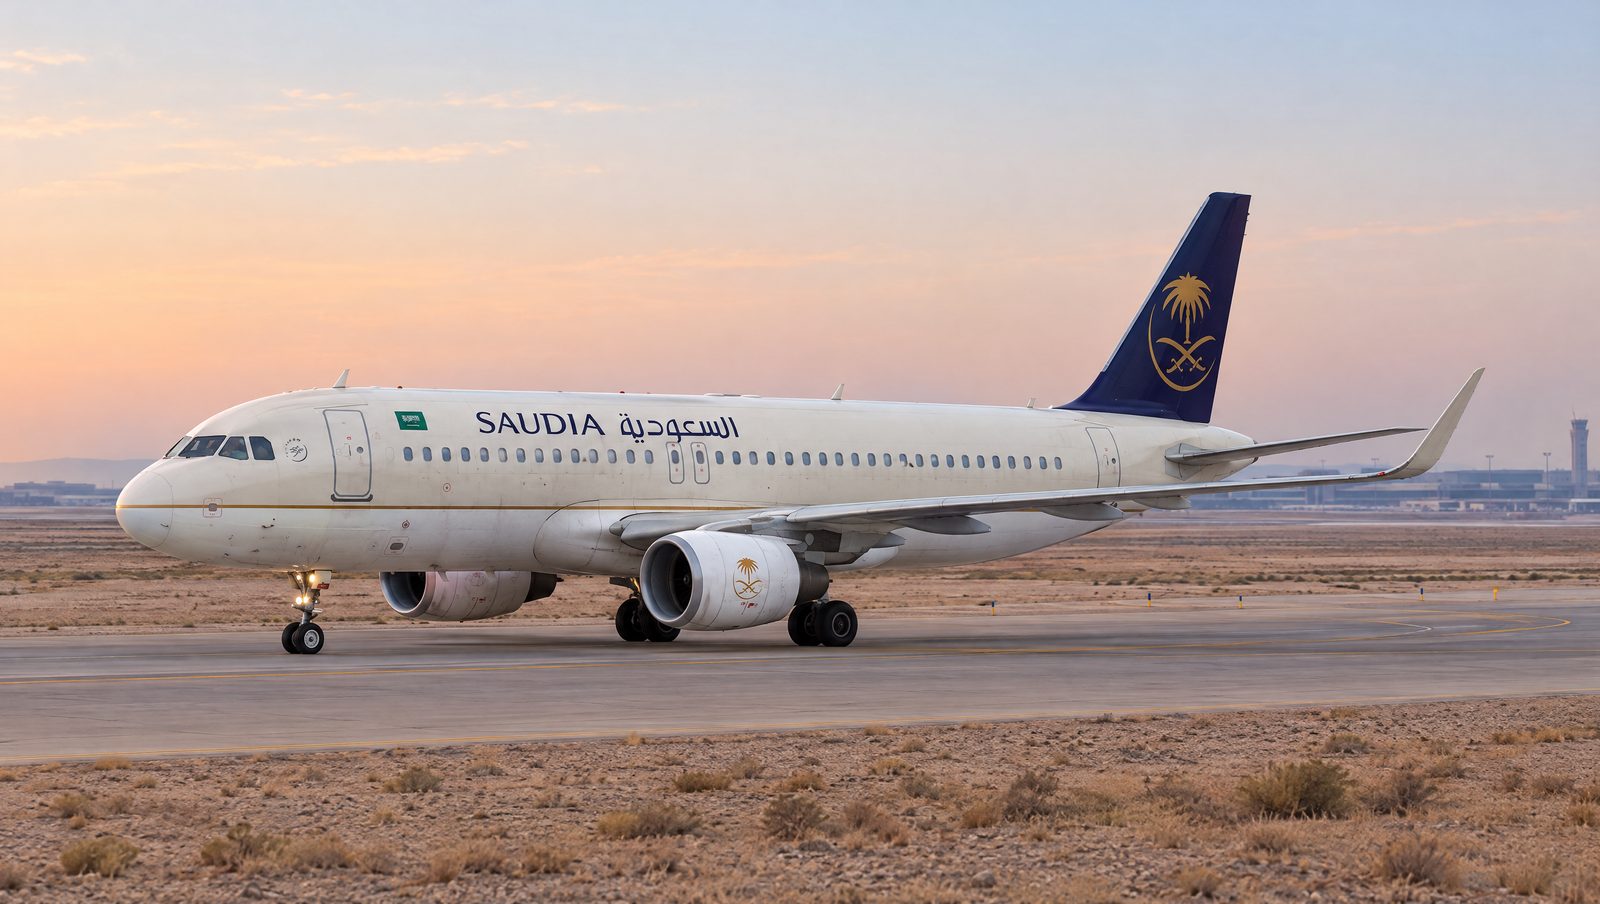
Keep the sun behind you. Front-lit aircraft show livery colours accurately and avoid the silhouette trap. Backlighting can be spectacular, but treat it as a deliberate creative choice, not a default.
Scout before you shoot. Know the runway in use, know where the sun will be at the time you plan to be there, and know where you are legally allowed to stand. Published spotting locations exist at most major airports for good reason. Never enter an operational area, never point anything that looks like a laser at an aircraft, and expect to have a polite conversation with airport security at some point — being visibly cooperative makes that a thirty-second interaction.
Weather is a subject, not an obstacle
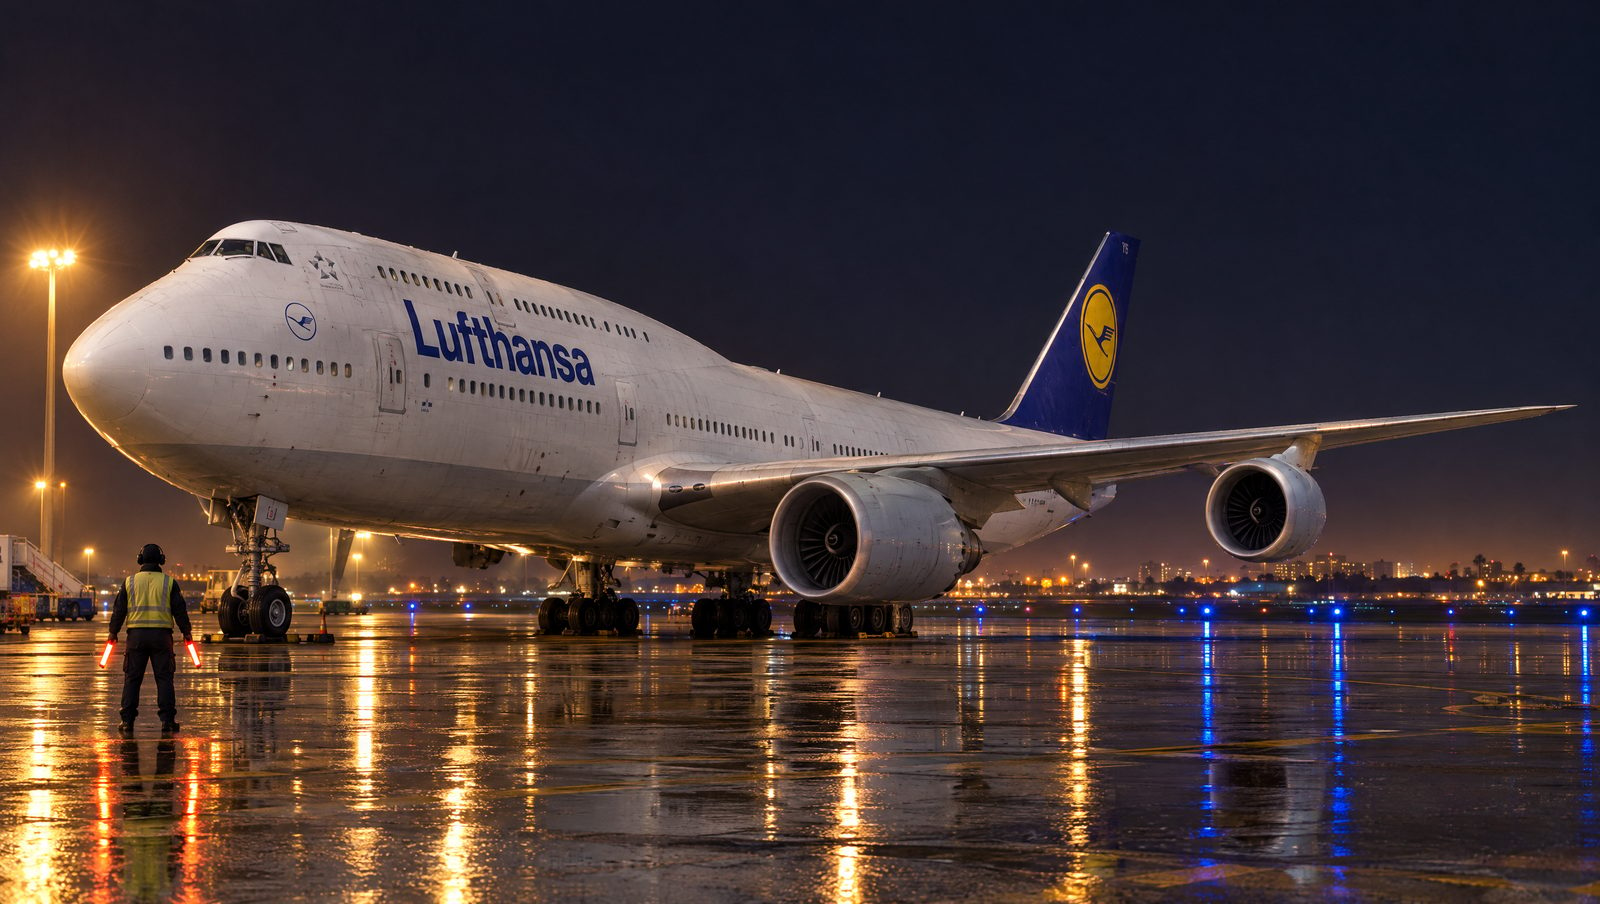
Clear blue is the least interesting sky in aviation photography. Broken cloud, rain on the tarmac, low winter sun, fog burning off the field, heat shimmer on a summer taxiway — texture is what makes an aviation frame memorable. A wet apron doubles your image by reflecting the aircraft back at you. Go out in weather that keeps other photographers at home.
Shooting from the cabin
Most pilots' best aviation photographs are taken as passengers, and cabin windows have their own rulebook.
- Sit ahead of or well behind the wing, and pick the side away from the sun for a given route and time of day.
- Press the lens hood gently against the window to kill internal reflections, and turn off overhead reading lights.
- Skip the polariser here — cabin windows are made of stretched acrylic, and a polariser interacts with the stress patterns in the plastic to produce rainbow blotches across the frame.
- Shoot at a reasonably fast shutter speed to fight airframe vibration, and never rest the lens directly on the window frame.
Engine and wing shots from a window seat are the most reliable frames in the whole discipline, because the subject is close, well lit, and moving with you.
Editing without overcooking it
Aviation photography has a recognisable over-processing style: crushed blacks, radioactive orange skies, halos around the tail fin. Resist it. Shoot RAW, correct the horizon first — a tilted horizon is the most common giveaway in an otherwise good frame — then recover highlight detail on white fuselages, lift shadows on the underside, and apply sharpening carefully. Livery colours are a matter of fact, not taste, and pushing saturation until an airline's blue is wrong will be noticed by exactly the audience you are trying to impress.
Making your work count
Once you have a body of images, do something with them. Aircraft-spotting databases and aviation photography communities have real editorial standards and getting accepted is useful feedback. Airline and manufacturer social accounts regularly source enthusiast images. And the simplest option is often the most satisfying: print your best three frames large and hang them where you will actually see them. Prints and framed pieces sit naturally alongside the rest of an aviation home decor setup, and a wall of your own work beats a poster every time.
Aviation photography rewards patience more than equipment. The pilots who produce the best work are not the ones with the longest lens — they are the ones who understand the operation well enough to know where the aircraft will be, in what light, doing something worth photographing. You already have that half of the skill. The rest is shutter speed and showing up in bad weather.
If you are looking for something for the photographer in your life, or for yourself between trips, our aviation enthusiast gifts collection is a good place to start.
Comments
Loading comments…